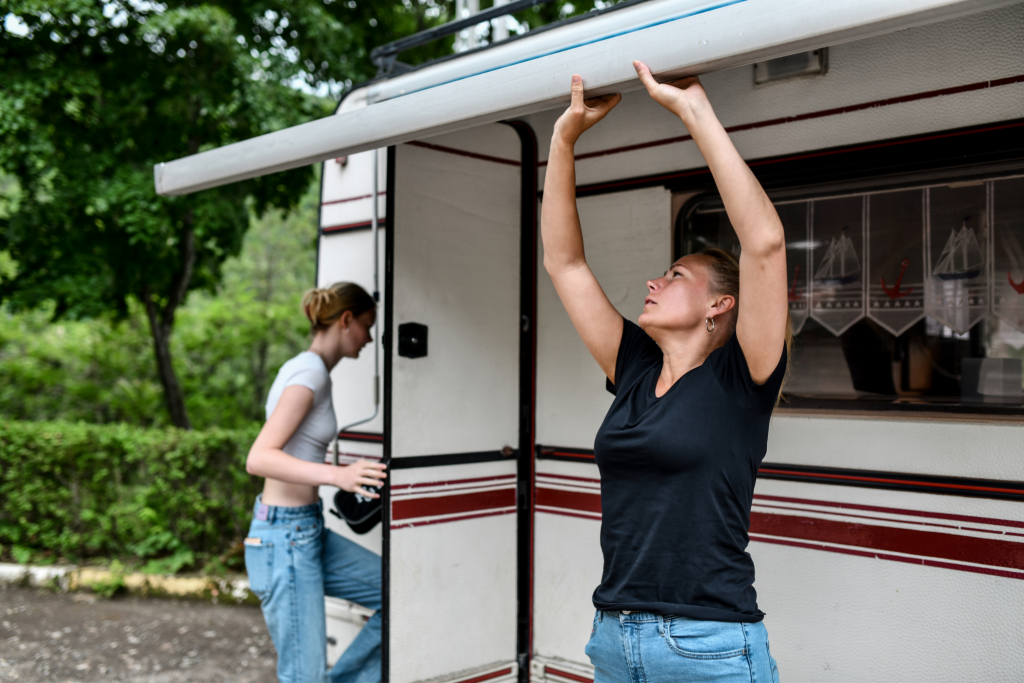
Are you tired of dealing with a worn-out RV awning fabric? It’s time to take matters into your own hands and replace it yourself.
In this article, we will guide you through assessing the condition of your RV awning fabric, gathering the necessary tools and materials, removing the old fabric, and installing the new one.
Plus, we will provide valuable tips for proper maintenance and care.
Get ready to enjoy a fresh and durable awning fabric!
Assessing the Condition of Your RV Awning Fabric
You should regularly inspect your RV awning fabric to assess its condition and determine whether it needs replacing. Start by extending the awning fully, ensuring it’s secure and stable.
Look closely at the fabric for signs of wear, such as fraying, tears, or fading. Check the seams and stitching to ensure they’re intact and strong.
Pay attention to mold or mildew growth, which can indicate water damage. If you notice any of these issues, it indicates that your awning fabric needs to be replaced.
Regular inspections can help you catch problems early on and prevent further damage to your RV awning.
Gathering the Necessary Tools and Materials
Gather the necessary tools and materials to replace your RV awning fabric, such as a screwdriver and new fabric.
Start by finding a flat and open area to work on.
Lay out the new fabric and inspect it for any defects or damages.
Next, locate the screws that hold the awning fabric in place.
Grab your screwdriver and carefully remove these screws, making sure to keep them in a safe place.
Remove the old fabric from the awning frame once the screws are removed.
Take your time and be careful not to damage any other parts of the awning.
Finally, prepare the new fabric by aligning it with the frame and attaching it using the screws.
Make sure everything is secure and tight before testing the awning.
Removing the Old Awning Fabric

Take a moment to remove the old awning fabric from the frame carefully. Start by locating the screws or bolts holding the fabric in place. Use a screwdriver or wrench to loosen and remove them.
Once the fasteners are removed, gently pull the fabric away from the frame, being mindful not to damage it. If the fabric is stuck or difficult to remove, use a flathead screwdriver to pry it loose. Take your time and work slowly to avoid any tears or rips.
Roll it up and set it aside for disposal once the fabric is completely detached from the frame. With the old fabric removed, you’re now ready to move on to the next step of replacing your RV awning fabric.
Installing the New Awning Fabric
Once you have rolled up the old fabric, use a screwdriver or wrench to loosen the screws or bolts, and then gently remove them to begin installing the new awning fabric.
Start by unrolling the new fabric and aligning it with the awning rail. Make sure the fabric is centered and evenly distributed.
Next, reattach the screws or bolts, securing the fabric in place. Tighten them just enough to hold the fabric in position but not too tight to prevent tearing.
Once the fabric is secure, extend the awning fully to check for any wrinkles or sagging. Adjust the tension as needed by tightening or loosening the screws or bolts.
Finally, test the awning by retracting and extending it a few times to ensure smooth operation.
Congratulations, you have successfully installed the new awning fabric!
Tips for Proper Maintenance and Care of Your RV Awning Fabric
Regularly clean and inspect your RV awning fabric to prevent damage or wear. Your RV awning fabric is constantly exposed to the elements, such as rain, wind, and sunlight, which can cause dirt, mold, and mildew to accumulate over time.
Clean your awning fabric regularly with mild soap and water to keep it in good condition. Use a soft brush or cloth to scrub away any dirt or stains gently. After cleaning, make sure to thoroughly rinse off the soap residue and allow the fabric to dry completely before retracting the awning.
In addition to regular cleaning, inspect your awning fabric for any signs of wear or damage, such as tears or fraying. If any issues are found, it’s best to address them promptly to prevent further damage and ensure the longevity of your RV awning fabric.
Conclusion: Ensuring Longevity with a Fresh Awning Facelift
Replacing the fabric of your RV awning is a fairly straightforward process that can be done with the right tools and materials. By assessing the condition of the fabric, gathering everything you need, and following the steps for removal and installation, you can have a fresh and functional awning in no time.
Remember to properly maintain and care for your new awning fabric to ensure its longevity and continued performance.