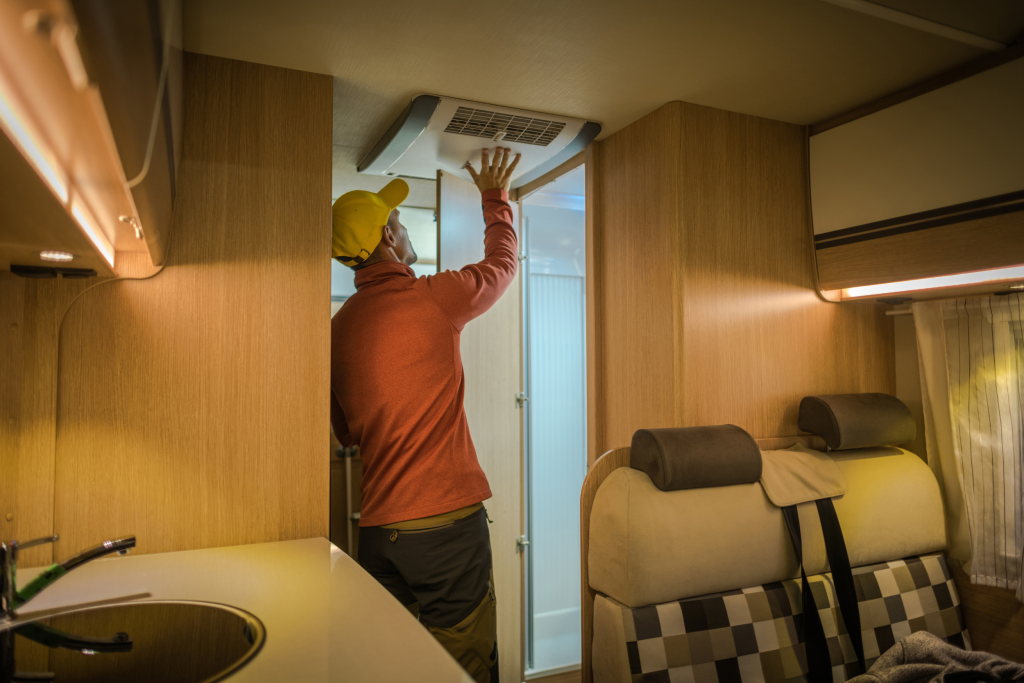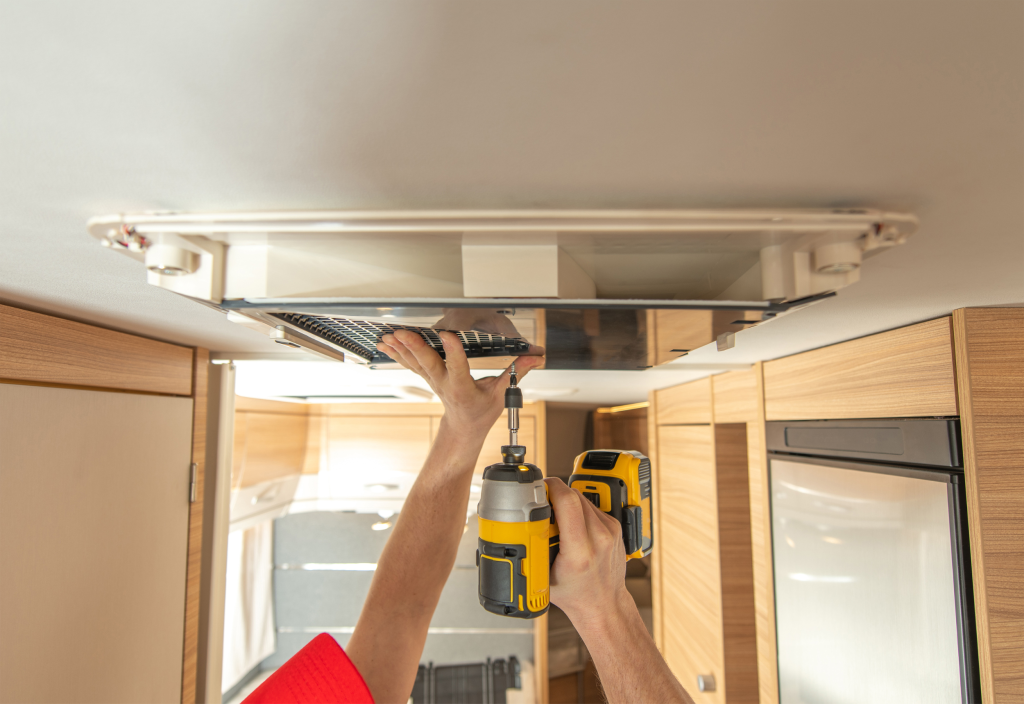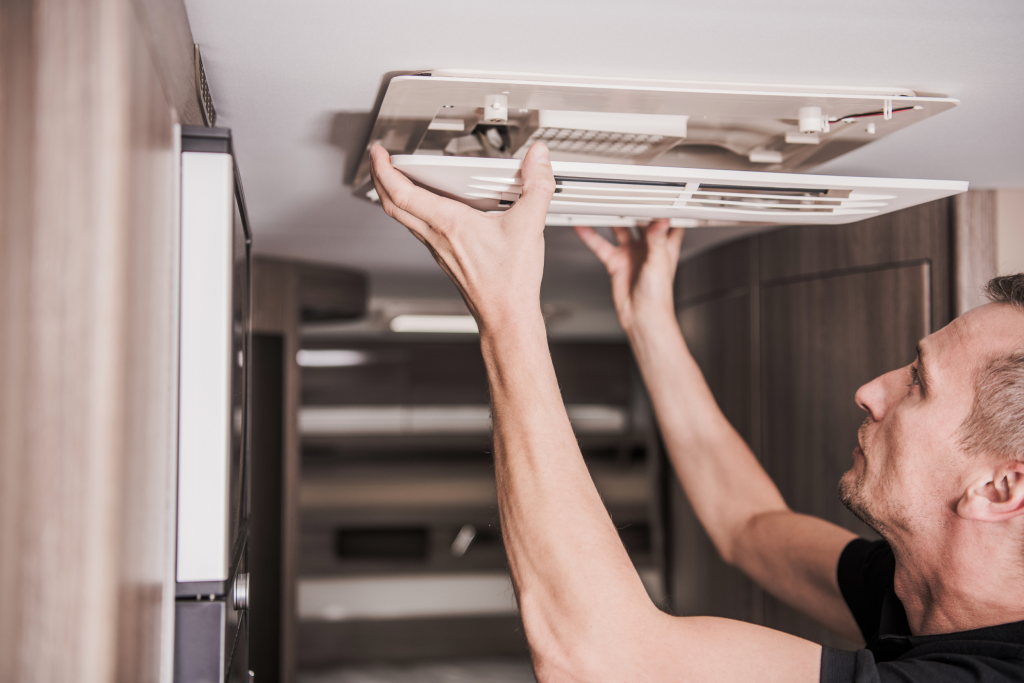
Are you tired of sweating through your road trips? Don’t let a malfunctioning RV air conditioner ruin your travel plans. This comprehensive guide will walk you through troubleshooting common problems and provide step-by-step instructions for repairing your air conditioner.
With some knowledge and preventative maintenance, you can keep cool on the road and enjoy your journey to the fullest.
So, hop in, buckle up, and let’s get started!
Understanding Your RV Air Conditioner
Understanding your RV air conditioner is essential for troubleshooting any issues on the road. To start, it’s important to familiarize yourself with the various components of your air conditioner. An RV air conditioner typically consists of a compressor, condenser, evaporator, and blower.
There are two main types of air conditioners commonly used in RVs: rooftop and portable. Rooftop air conditioners are installed on your RV’s roof and are commonly found in larger RVs. On the other hand, portable air conditioners can be moved around and are suitable for smaller RVs.
Knowing how air conditioners work is crucial for troubleshooting. They function by removing heat and humidity from the air inside your RV and then cooling it before blowing it back into the space. Proper installation and regular maintenance are also important for optimal performance.
Ensure your air conditioner is installed correctly and regularly clean or replace the air filters to ensure proper airflow. Additionally, check for leaks or damages in the unit and clean the condenser coils to prevent blockages. Regular maintenance will help prolong the lifespan of your RV air conditioner and prevent any major issues while on the road.
Tools and Safety Precautions
Before you start, ensure you have all the necessary tools and take the appropriate safety precautions. Safety gear is essential when working with electrical systems, so have gloves, safety glasses, and insulated tools. Proper ventilation is also important to prevent exposure to harmful fumes or gases.
When troubleshooting your RV air conditioner, electrical testing is a key step. Use a multimeter to check for power supply, continuity, and voltage levels. These techniques will help you identify any electrical issues causing the problem.
Regular equipment maintenance is crucial to keep your RV air conditioner running smoothly. Clean the filters regularly, check for loose connections, and lubricate moving parts as needed.
Common Air Conditioner Problems and Symptoms

When your RV’s air conditioner is not functioning properly, you might experience weak airflow, strange odors, or unusual noises. These signs often indicate common air conditioner problems that can affect your cooling efficiency on the road.
One of the issues you might encounter is strange odors coming from the AC unit. This could be caused by mold or mildew buildup, which requires cleaning or replacing the air filters.
Another problem is water leakage caused by a clogged condensate drain or a damaged drain pan. Electrical issues, such as faulty wiring or a malfunctioning motor, can also disrupt the AC’s performance.
Lastly, thermostat malfunctions can result in inconsistent temperature control. If you notice any of these symptoms, addressing them promptly is important to ensure a comfortable and efficient RV air conditioning system.
Step-by-Step Troubleshooting Guide
To troubleshoot your AC unit, check the power source and ensure it’s properly connected. If the power seems fine, then it’s time to move on to other troubleshooting tips.
One common issue that can affect cooling efficiency is electrical problems. Check for loose or damaged wires, and make sure the circuit breaker hasn’t tripped.
Another important factor to consider is the refrigerant levels. If they’re low, it could indicate a leak, which will need to be addressed by a professional.
Lastly, airflow restrictions can also cause problems. Clean or replace the air filters, and ensure no obstructions block the vents.
Repairing Common Problems

One way to address common AC problems is by checking for loose or damaged wires and ensuring the circuit breaker hasn’t tripped. Troubleshooting techniques can help you identify and resolve issues with your AC unit.
DIY repairs can save you time and money, but knowing your limits and when to seek professional help is important. Common AC issues include uneven cooling, strange noises, and a unit that won’t turn on. Troubleshooting tips include cleaning or replacing air filters, checking the thermostat settings, and inspecting the condenser coils for dirt or debris.
If you’re unsure or uncomfortable with any repairs, it’s best to contact a professional AC technician who can diagnose and fix the problem safely and efficiently.
Preventative Maintenance and Care
Regular maintenance and care of your AC unit is essential for keeping it running efficiently and extending its lifespan. To ensure optimal performance, start by regularly cleaning filters to remove any dust or debris that can obstruct airflow.
Additionally, checking refrigerant levels is crucial, as low levels can lead to poor cooling and potential damage to the compressor. Inspecting ductwork for any leaks or blockages is also important, as it can affect the airflow and overall efficiency of the unit.
Don’t forget to lubricate the fan motor to reduce friction and prevent overheating. Lastly, calibrating the thermostat ensures accurate temperature readings and proper cooling cycles.
Conclusion: Keeping Your Cool While on the Move
In conclusion, maintaining a properly functioning RV air conditioner is essential for a comfortable road trip. By understanding how your air conditioner works and following the troubleshooting guide, you can easily identify and fix common problems.
Remember always to prioritize safety and use the right tools for repairs. Additionally, regular preventative maintenance and care can help extend the lifespan of your air conditioner.
So, stay cool on the road and enjoy your RV adventures!