Are you tired of dealing with a damaged RV awning? Look no further! This ultimate guide will provide DIY tips and tricks to repair your awning like a pro.
Whether you need to fix a torn fabric, address sagging issues, or tackle motor dysfunction in electric awnings, we’ve got you covered.
Say goodbye to expensive repairs and hello to a fully functioning awning with our easy-to-follow instructions.
Let’s get started!
Pre-Repair Considerations
Before repairing your RV awning, you should go through the pre-repair considerations.
First, assess the extent of the damage and determine if it can be fixed or if a replacement is necessary. Look for signs of wear and tear, such as holes, tears, or broken parts.
Next, gather the necessary tools and materials for the repair, including a repair kit, adhesive, and replacement parts.
It’s also important to check the weather forecast before starting the repair to ensure a dry and stable working environment.
Additionally, read the manufacturer’s instructions or consult a professional to ensure you’re following the correct repair procedures.
Considering these pre-repair considerations will help ensure a successful and efficient repair process for your RV awning.
Diagnosing the Problem
Take a close look at your RV awning and identify the issues that must be addressed to diagnose the problem effectively. Is there any visible damage, such as tears or holes in the fabric?
Check the arms and hinges for any signs of corrosion or bending. Are the springs still functioning properly, or must they be replaced?
Don’t forget to inspect the awning motor or manual crank mechanism for malfunctions. Is the fabric rolling up unevenly, or is it not retracting?
These observations will help you pinpoint the root cause of the problem and determine the necessary repairs. Remember, diagnosing the issue accurately is crucial to finding the right solution and ensuring the longevity of your RV awning.
Repairing a Torn Awning Fabric
You should always carefully inspect and repair a torn awning fabric, which can lead to further damage if left unattended. First, assess the extent of the tear by examining the fabric for any loose threads or frayed edges. Once you have identified the damaged area, gather the necessary tools and materials for the repair.
You’ll need a patch of awning fabric that matches the color and material of your existing awning, a strong adhesive, and a pair of sharp scissors. Trim any loose threads or excess fabric around the tear before applying the adhesive.
Carefully position the patch over the tear and press it firmly into place. Allow the adhesive to dry completely before testing the repaired area. Remember, promptly addressing a torn awning fabric will help prevent further damage and ensure the longevity of your awning.
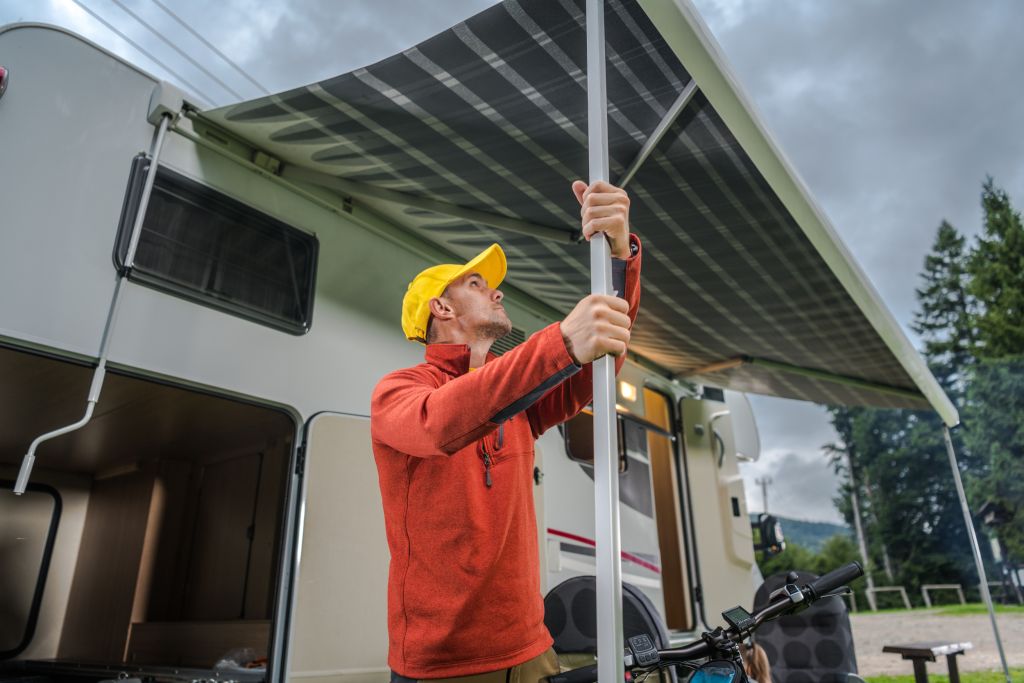
Fixing a Sagging or Loose Awning Fabric
To fix a sagging or loose awning fabric, tighten the tension knobs and secure them with a screwdriver. Start by locating the tension knobs on both sides of your awning. These knobs are usually located near the arms or brackets holding the awning.
Using a screwdriver, turn the knobs clockwise to tighten the tension. Keep turning until the fabric is taut and there’s no sagging.
Once you have tightened the fabric, use the screwdriver to secure the tension knobs. This will ensure that the fabric remains tight and doesn’t sag again.
Regularly check the tension knobs and adjust as needed to keep your awning fabric in good condition and prevent further sagging.
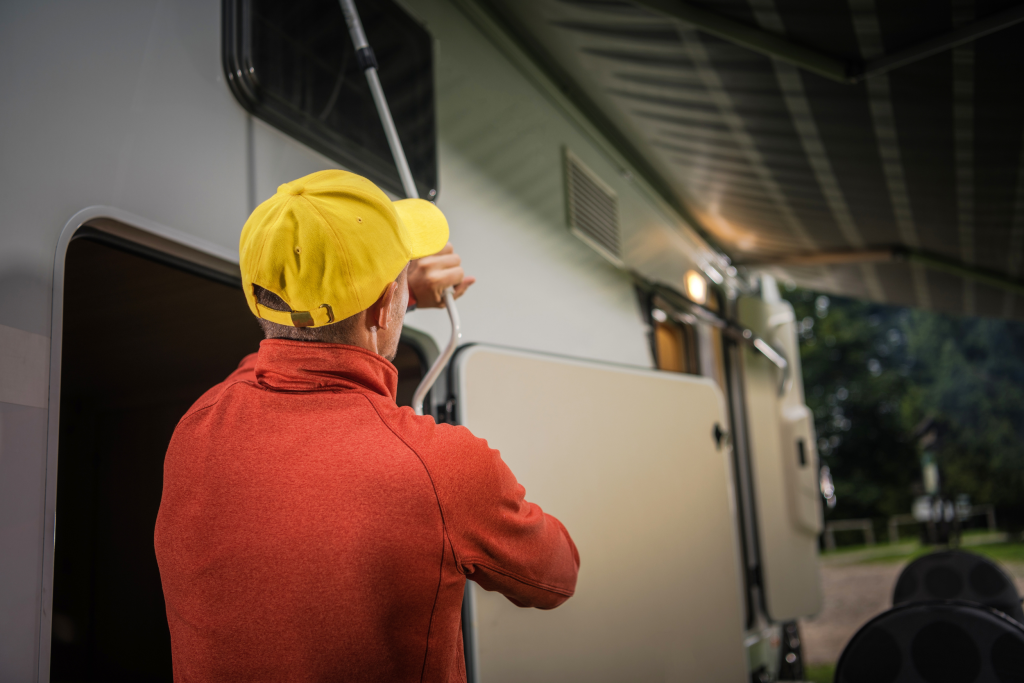
Addressing Motor Dysfunction in Electric Awnings
Two common issues can cause motor dysfunction in electric awnings: a faulty motor or a problem with the wiring.
If your electric awning isn’t working properly, the first thing you should check is the motor. A faulty motor can be identified if you hear strange noises or the awning doesn’t move. In this case, you might need to replace the motor.
Another possible cause of motor dysfunction is a problem with the wiring. Check if any loose or damaged wires could be causing the issue. If you find any, you can try to fix them yourself or contact a professional for assistance.
Always ensure the power is turned off before working on any electrical components.
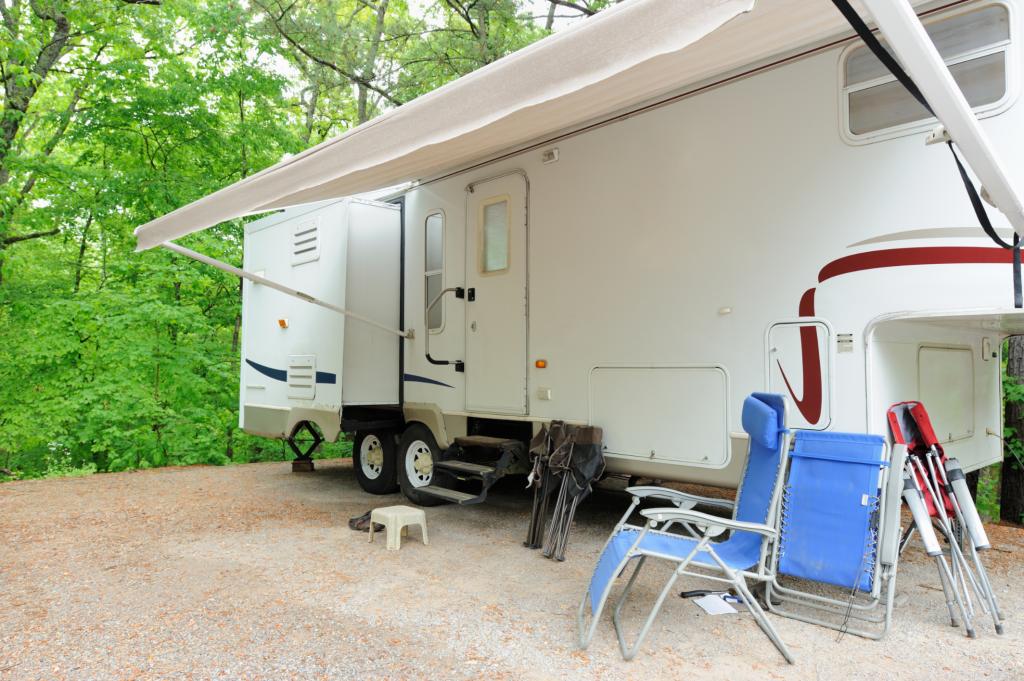
Conclusion: Restoring Your RV’s Shade and Shelter
Repairing your RV awning doesn’t have to be daunting. By following the pre-repair considerations, diagnosing the problem, and using the DIY tips and tricks provided, you can easily fix any issues with your awning.
Whether it’s a torn fabric, sagging or loose fabric, or motor dysfunction in electric awnings, this guide covers you.
So don’t hesitate to tackle your RV awning repairs and get back to enjoying your outdoor adventures.