Are you struggling with a damaged RV fiberglass? Don’t worry; we’ve got you covered! In this article, we will provide you with expert tips on repairing and maintaining your RV’s fiberglass.
You’ll learn how to assess the damage, gather the necessary tools and materials, prepare the damaged area, and follow a step-by-step repair process.
We’ll also guide you through the painting and gelcoat application and share preventative measures and maintenance tips.
Get ready to restore your RV to its former glory!
Assessing the Damage
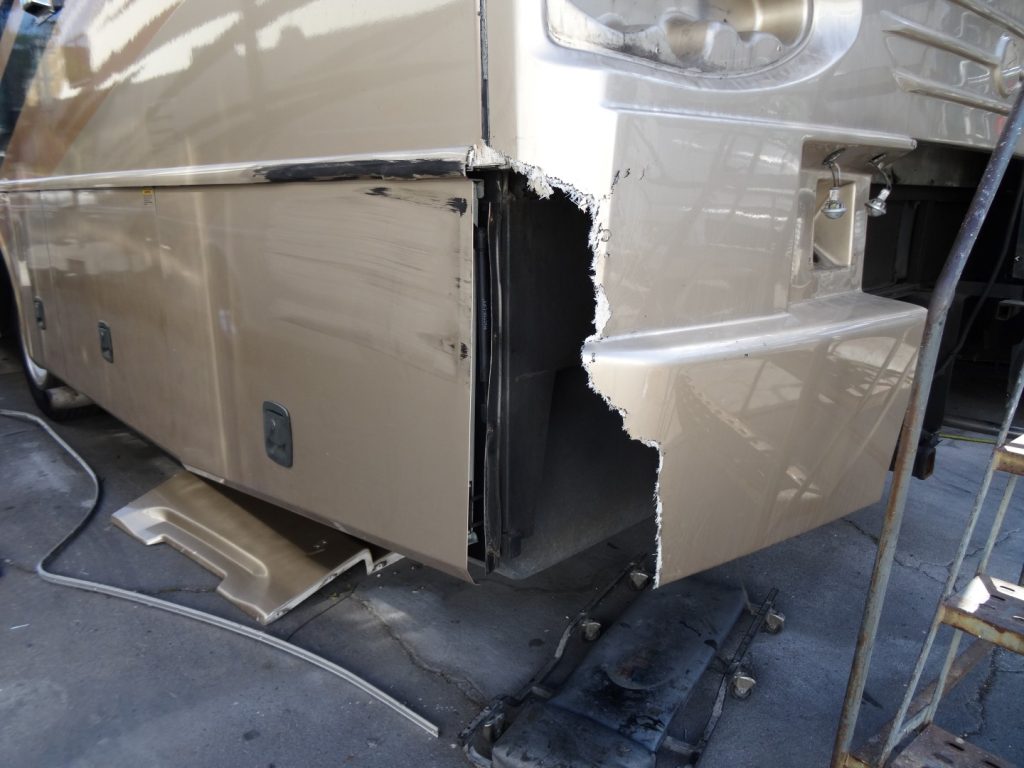
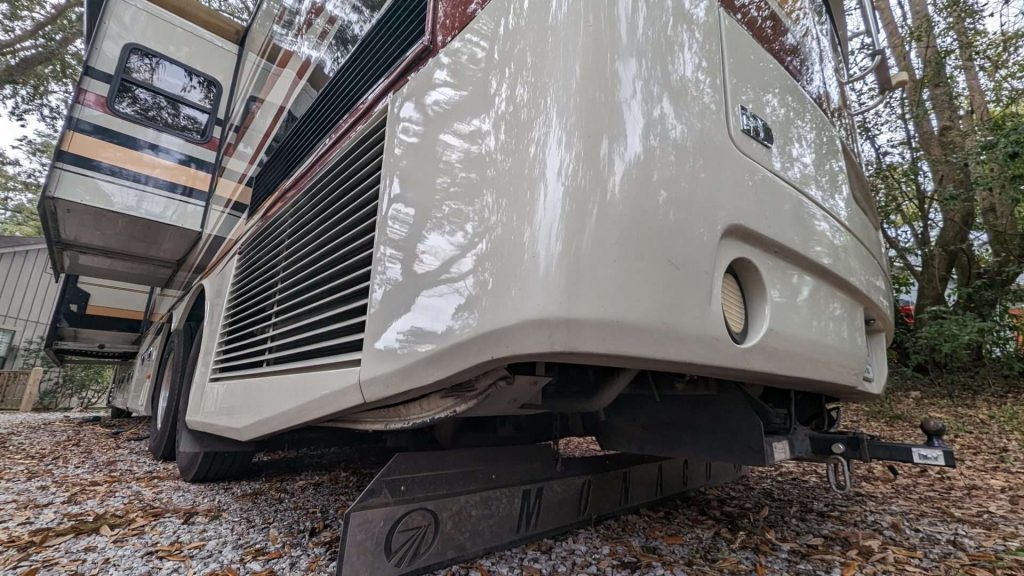
Now, you’ll want to look closely at the damage and assess the extent of the repairs needed. Start by examining the affected area thoroughly. Look for cracks, dents, or scratches on the RV’s fiberglass surface.
Don’t forget to inspect the surrounding areas, as damage can sometimes extend beyond the initial impact point. Use a flashlight to check for hidden damages that may not be immediately visible.
Once you understand the damage, determine the severity and complexity of the repairs required. Is it a simple cosmetic fix, or does it involve structural damage? Consider consulting with a professional if you’re unsure about the extent of the repairs needed.
Tools and Materials Needed
You’ll need a few essential tools and materials to complete the job. First and foremost, you’ll need a fiberglass repair kit. This kit typically includes resin, hardener, and fiberglass cloth or mat. It provides everything you need to repair cracks or holes in the RV’s fiberglass exterior.
Additionally, you’ll need sandpaper in various grits. This will help smooth out the repaired areas and prepare the surface for painting. A good quality primer and paint specifically designed for fiberglass surfaces are also necessary. They ensure a long-lasting and professional-looking finish.
To apply the paint, you’ll need brushes or rollers. You’ll also need masking tape and plastic sheeting to protect surrounding areas from overspray. Lastly, don’t forget safety equipment such as gloves, goggles, and a dust mask. These will protect you during the restoration process.
Preparing the Damaged Area

Before you prepare the damaged area, ensure you have all the necessary tools and materials. This step is crucial in providing a smooth and successful repair process.
Firstly, gather a fiberglass repair kit, which typically includes fiberglass cloth, resin, hardener, and a mixing cup. You’ll also need safety gear such as gloves, goggles, and a respirator to protect yourself from harmful fumes.
In addition, have sandpaper of various grits ready to remove rough edges and smooth the surface. A putty knife or plastic spreader will be useful for applying the resin and smoothing any uneven areas.
Lastly, make sure you have a clean and well-ventilated workspace to work in. With all these tools and materials in place, you can confidently proceed with restoration.
Step-by-Step Repair Process
Make sure you have gathered all the necessary tools and materials before proceeding with the step-by-step repair process.
First, clean the damaged area thoroughly using soap and water, and allow it to dry completely.
Next, sand the damaged area with fine-grit sandpaper to create a smooth surface for the fiberglass repair.
After that, apply a layer of fiberglass resin using a brush or roller, spreading it evenly over the damaged area.
Once the resin has dried, sand it to remove rough edges or imperfections.
Then, apply a second resin layer and repeat the sanding process until the damaged area is smooth and blended with the surrounding surface.
Painting and Gelcoat Application

Once the damaged area has been sanded and smoothed, apply a gel coat to restore the color and finish. Gelcoat is a thick, pigmented resin designed to protect and beautify your RV’s fiberglass surface.
Before applying the gel coat, ensure the area is clean and free of dust or debris. Then, using a brush or roller, apply a thin, even gel coat layer to the damaged area. Allow it to dry completely before applying additional coats if needed.
Once the gel coat is dry, you can sand it lightly to achieve a smooth finish. Finally, buff and polish the area to restore the shine and bring back the original beauty of your RV’s fiberglass.
Preventative Measures and Maintenance
Regularly clean and protect the exterior to keep your RV looking its best. This will maintain its aesthetic appeal and protect it from the elements.
Start by washing the exterior with a mild detergent and a soft brush or sponge. Rinse thoroughly and dry with a clean cloth to prevent water spots.
Next, apply a protective wax or sealant to create a barrier against UV rays, dirt, and pollutants. This will help prevent fading, oxidation, and damage to the fiberglass surface.
Additionally, inspect and repair any cracks or chips in the exterior to prevent further damage.
Conclusion: Keeping Your RV’s Exterior Beautiful and Functional
In conclusion, you have the knowledge and tools to restore and maintain your RV fiberglass.
You can effectively repair any issues by assessing the damage, preparing the area, and following the step-by-step repair process.
Don’t forget to apply paint and gelcoat for a seamless finish properly.
Lastly, remember to take preventative measures and perform regular maintenance to keep your RV fiberglass looking its best for years to come.
You’ve got this!